The steep incline of the Deer Isle Bridge imparts the same sensation each time we cross the reach to the island. Will we fly right off into the dusk? The illusion is powerful.
In some ways, our crossing delivers us to another space and time.
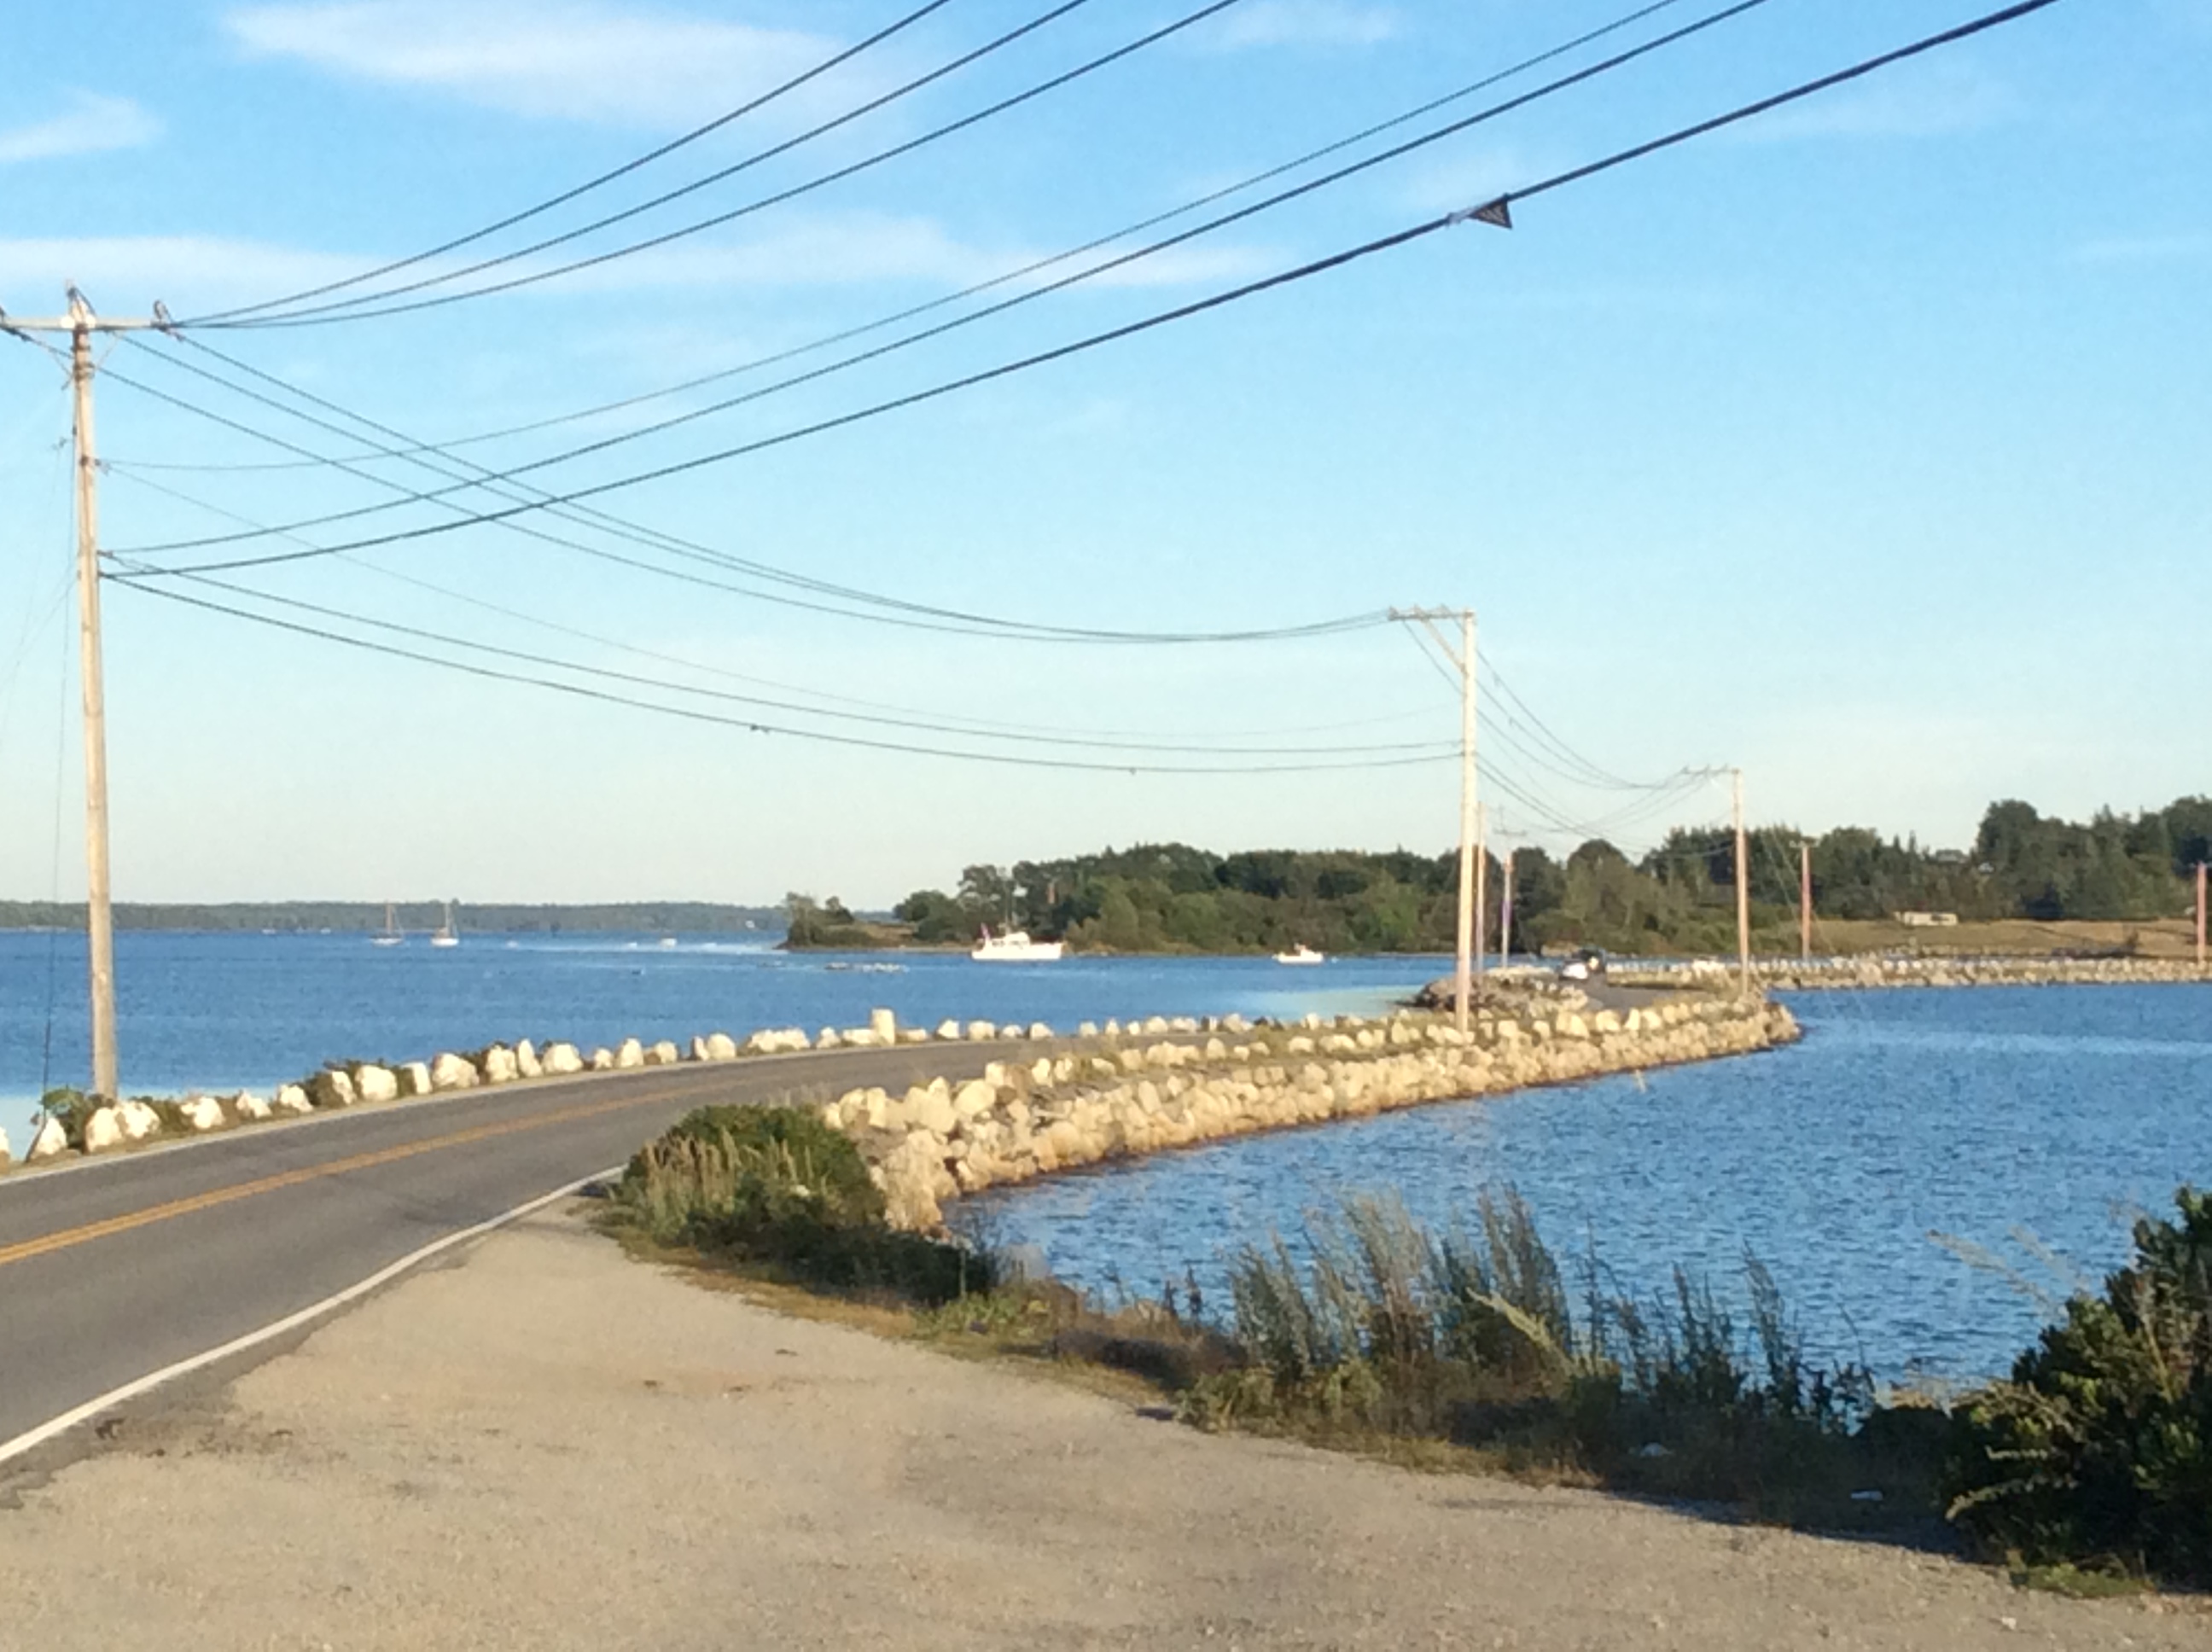
We soon “touch down” on the island road and round the bend to the narrow winding causeway of many a journey — back to the heritage home, where we leave behind our busy lives, for just a little while.
Our two cats, elated that we have arrived, soon forgive us the taxing trip they have endured. We unload the car and settle in to the sturdy house built by my husband’s great grandfather. Nevertheless, there is a yearly toll of some kind!
In the days ahead, we will also take in the Maine sunshine, brilliant night sky, food of the sea and earth, and commune with family and friends.
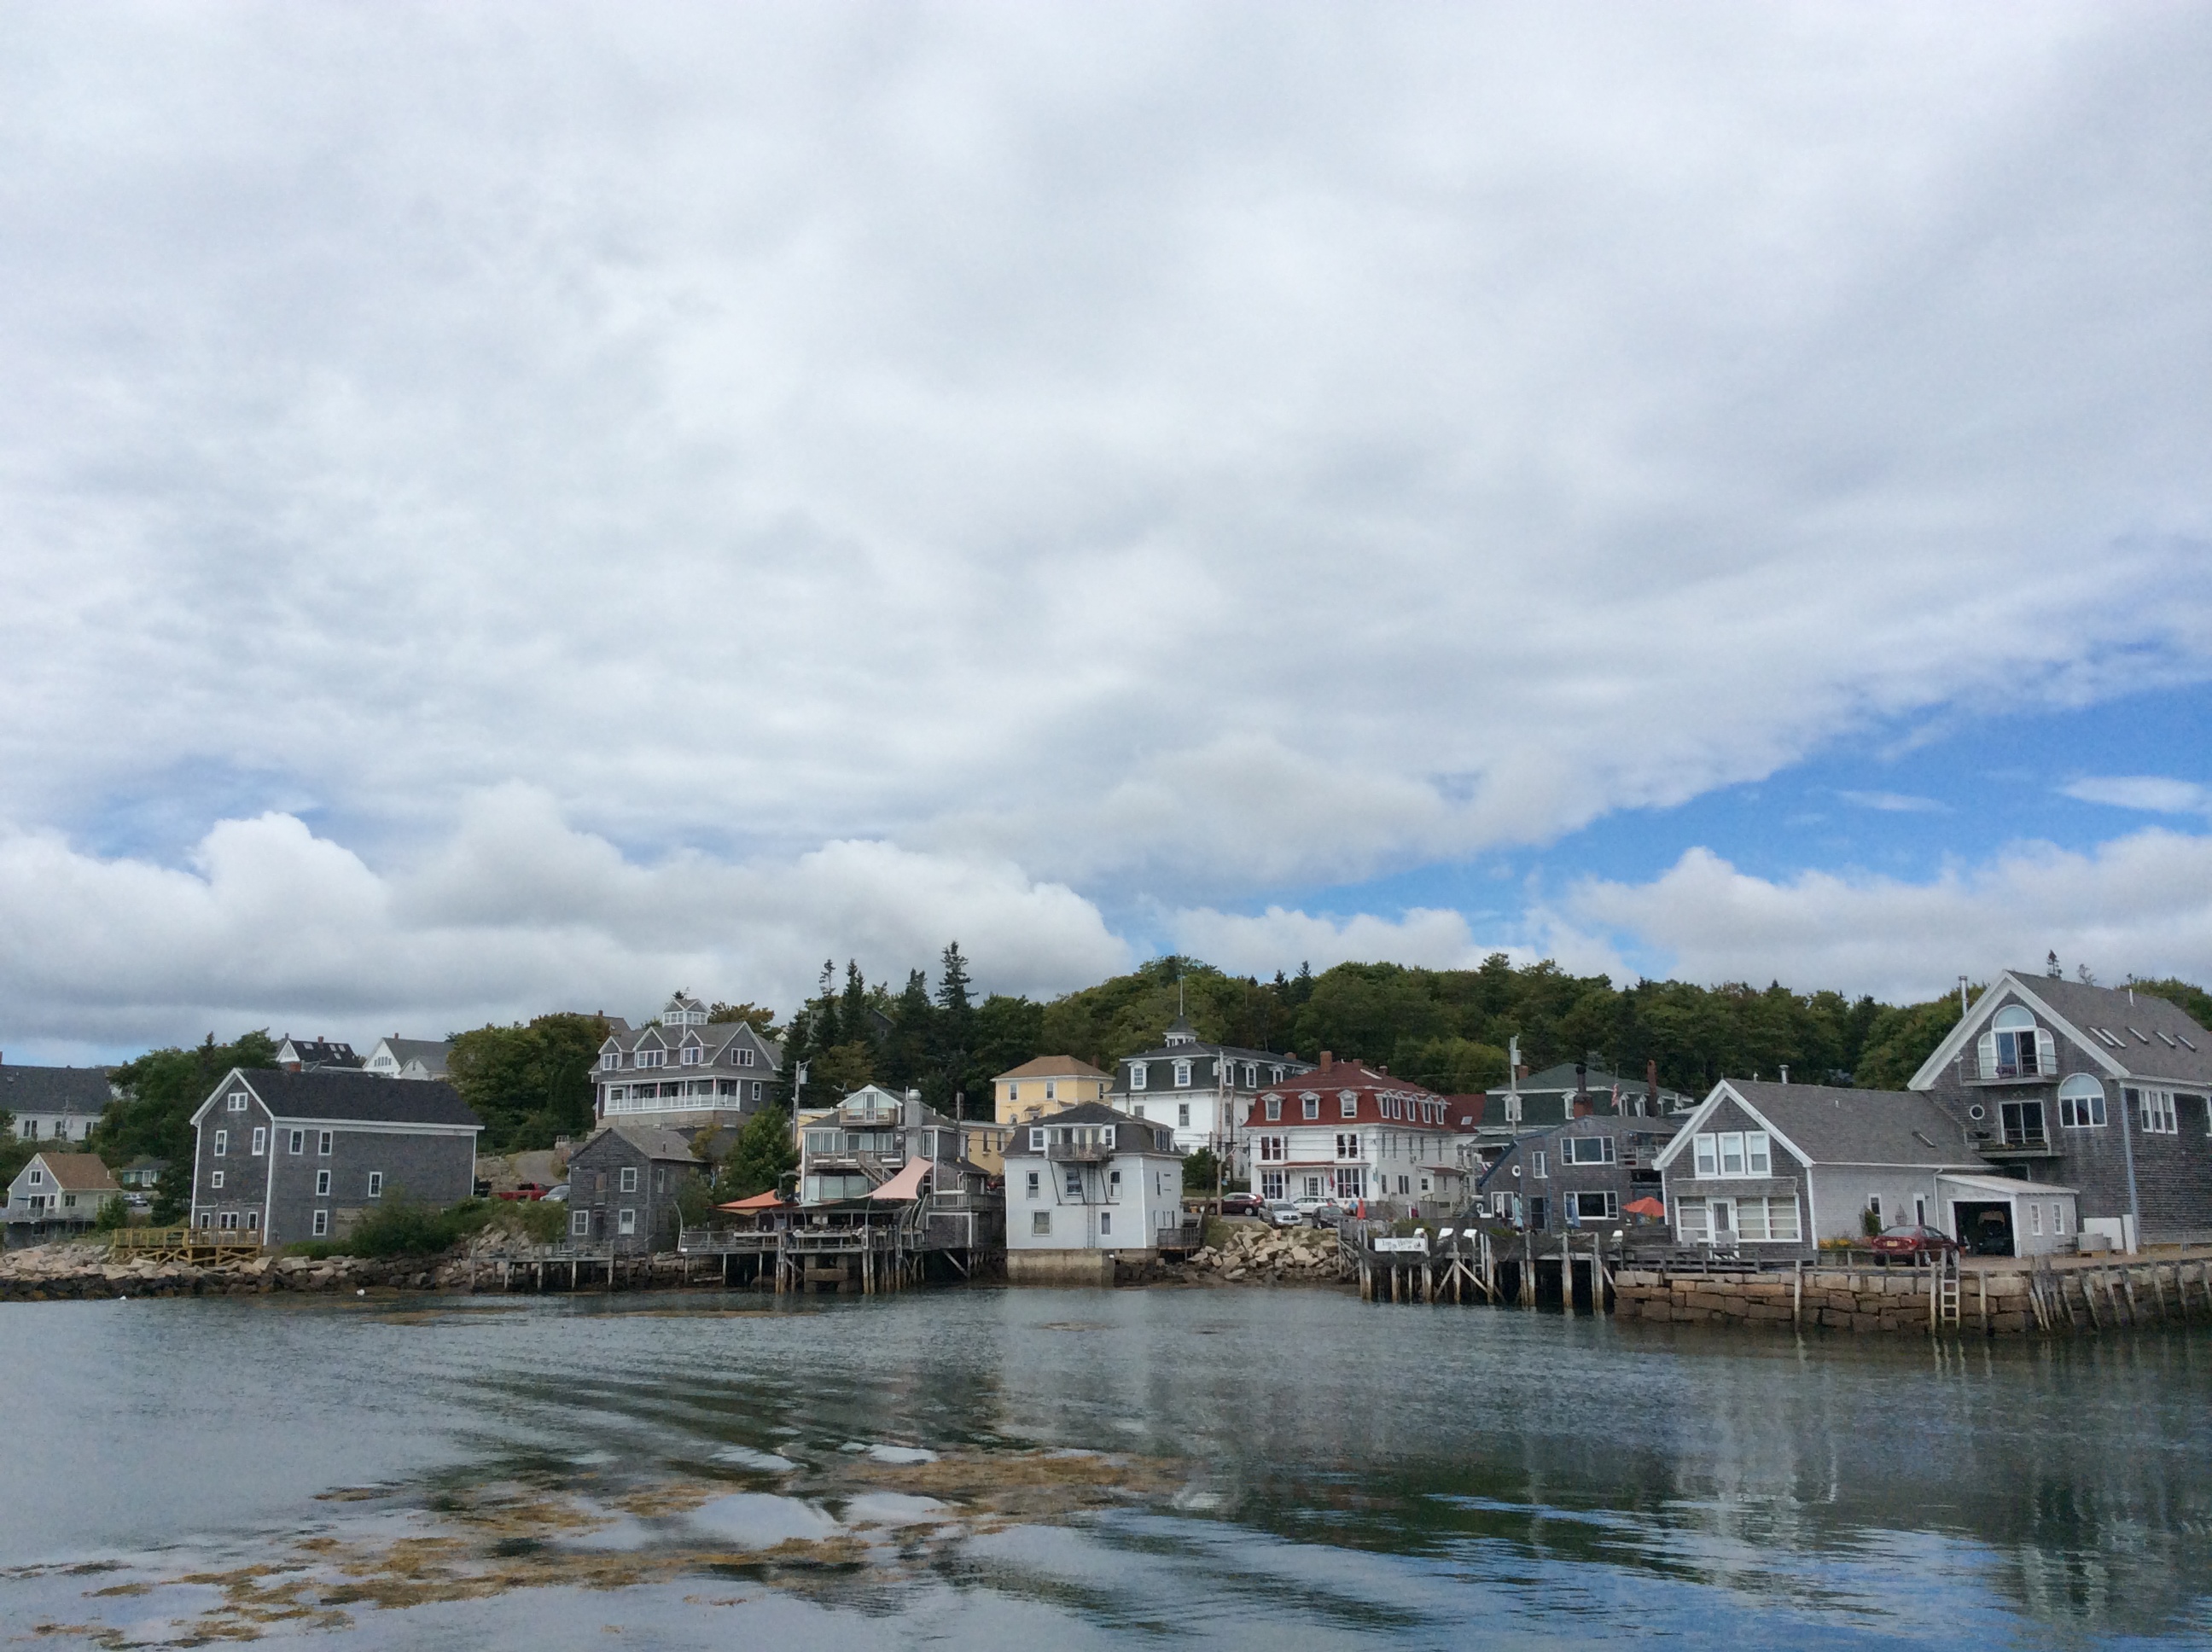
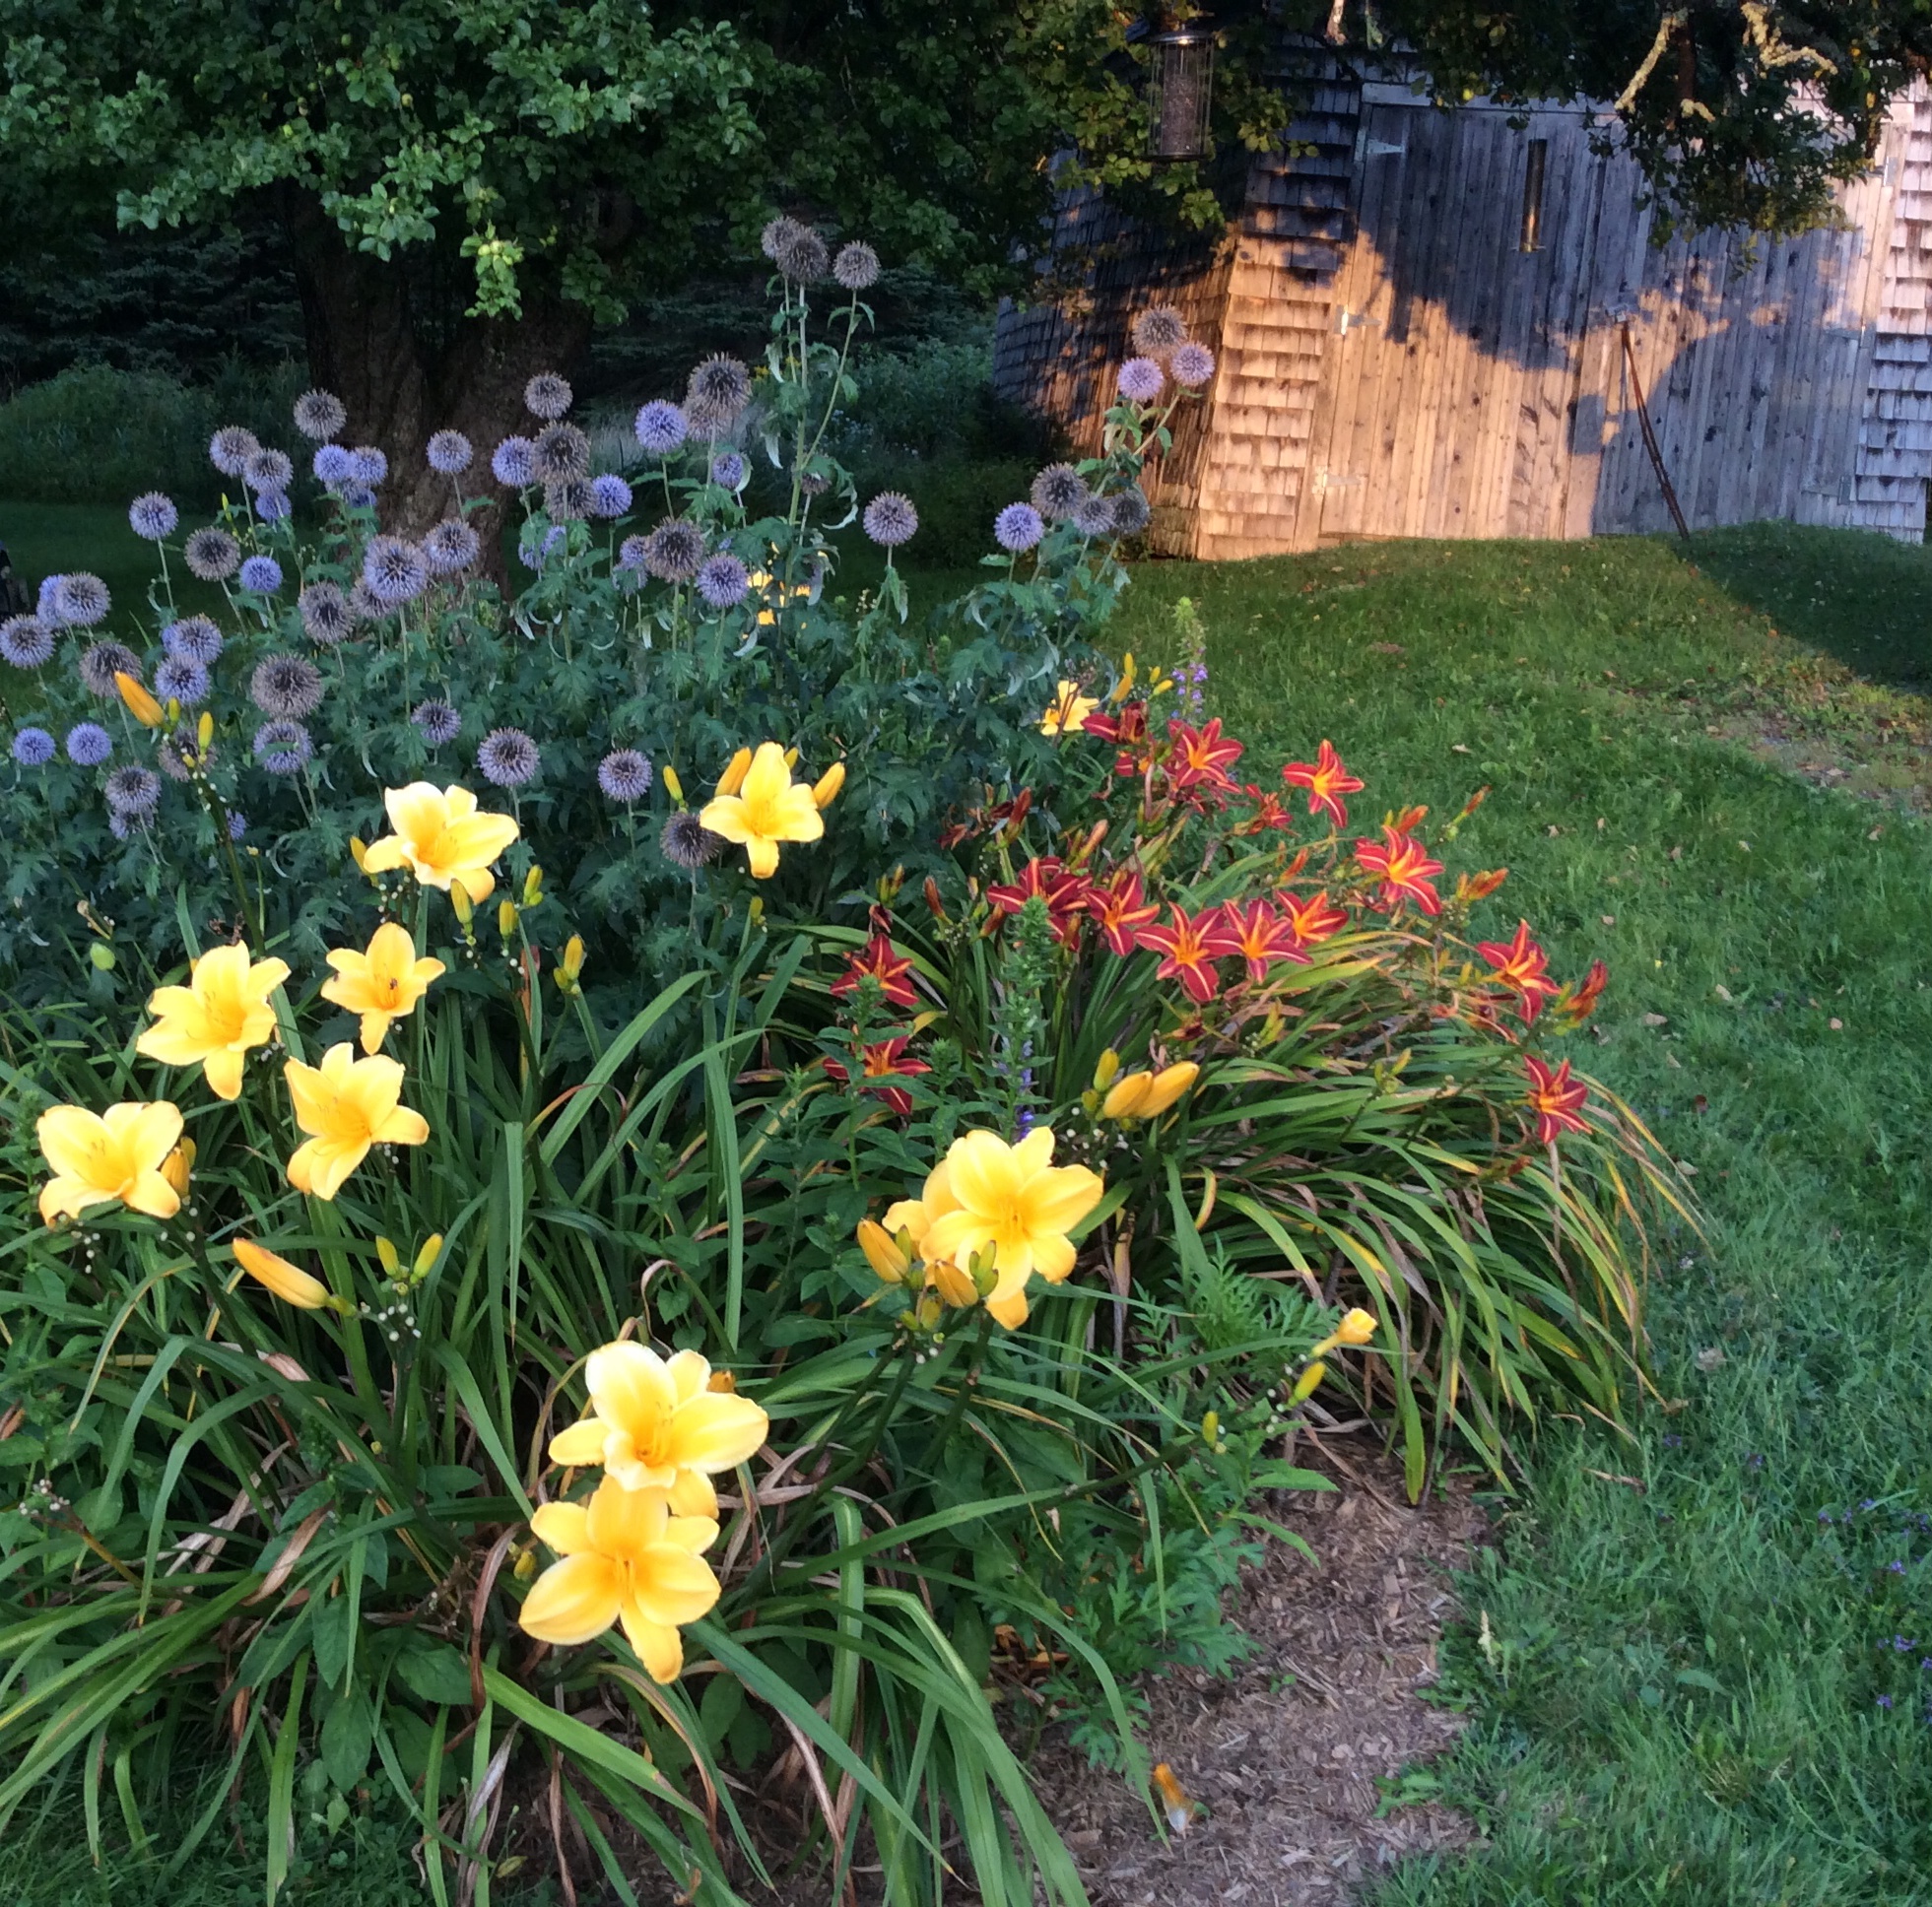
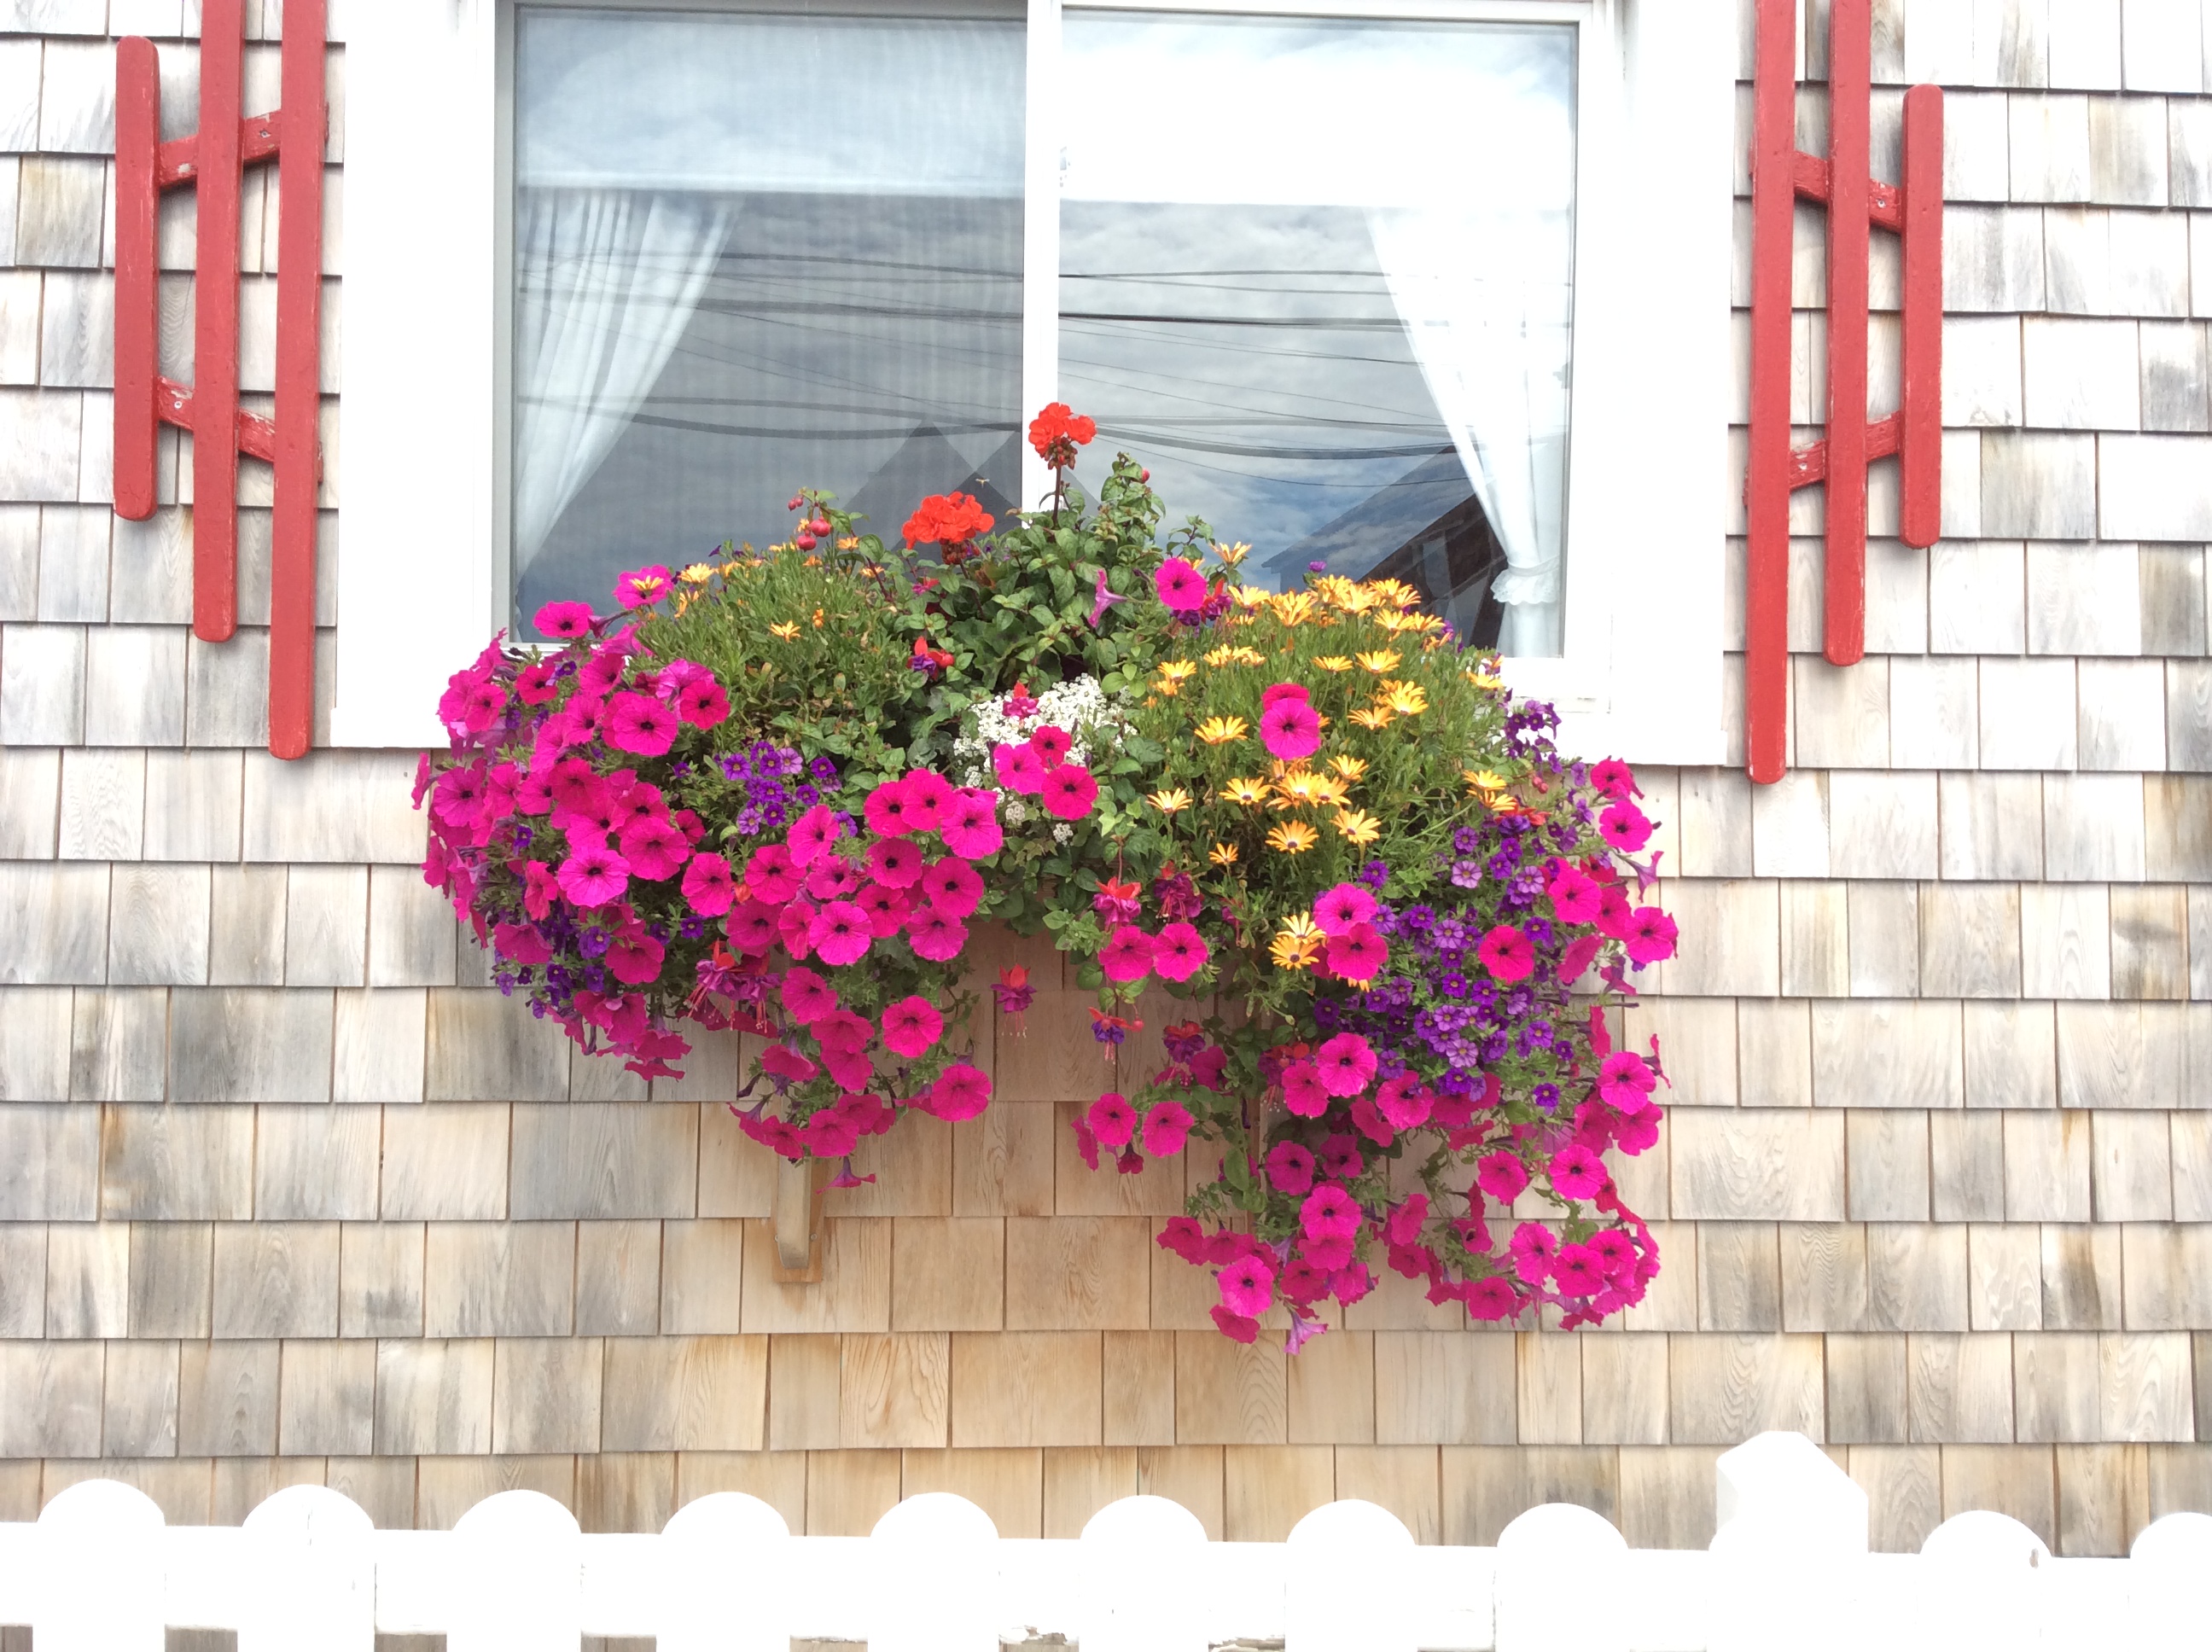
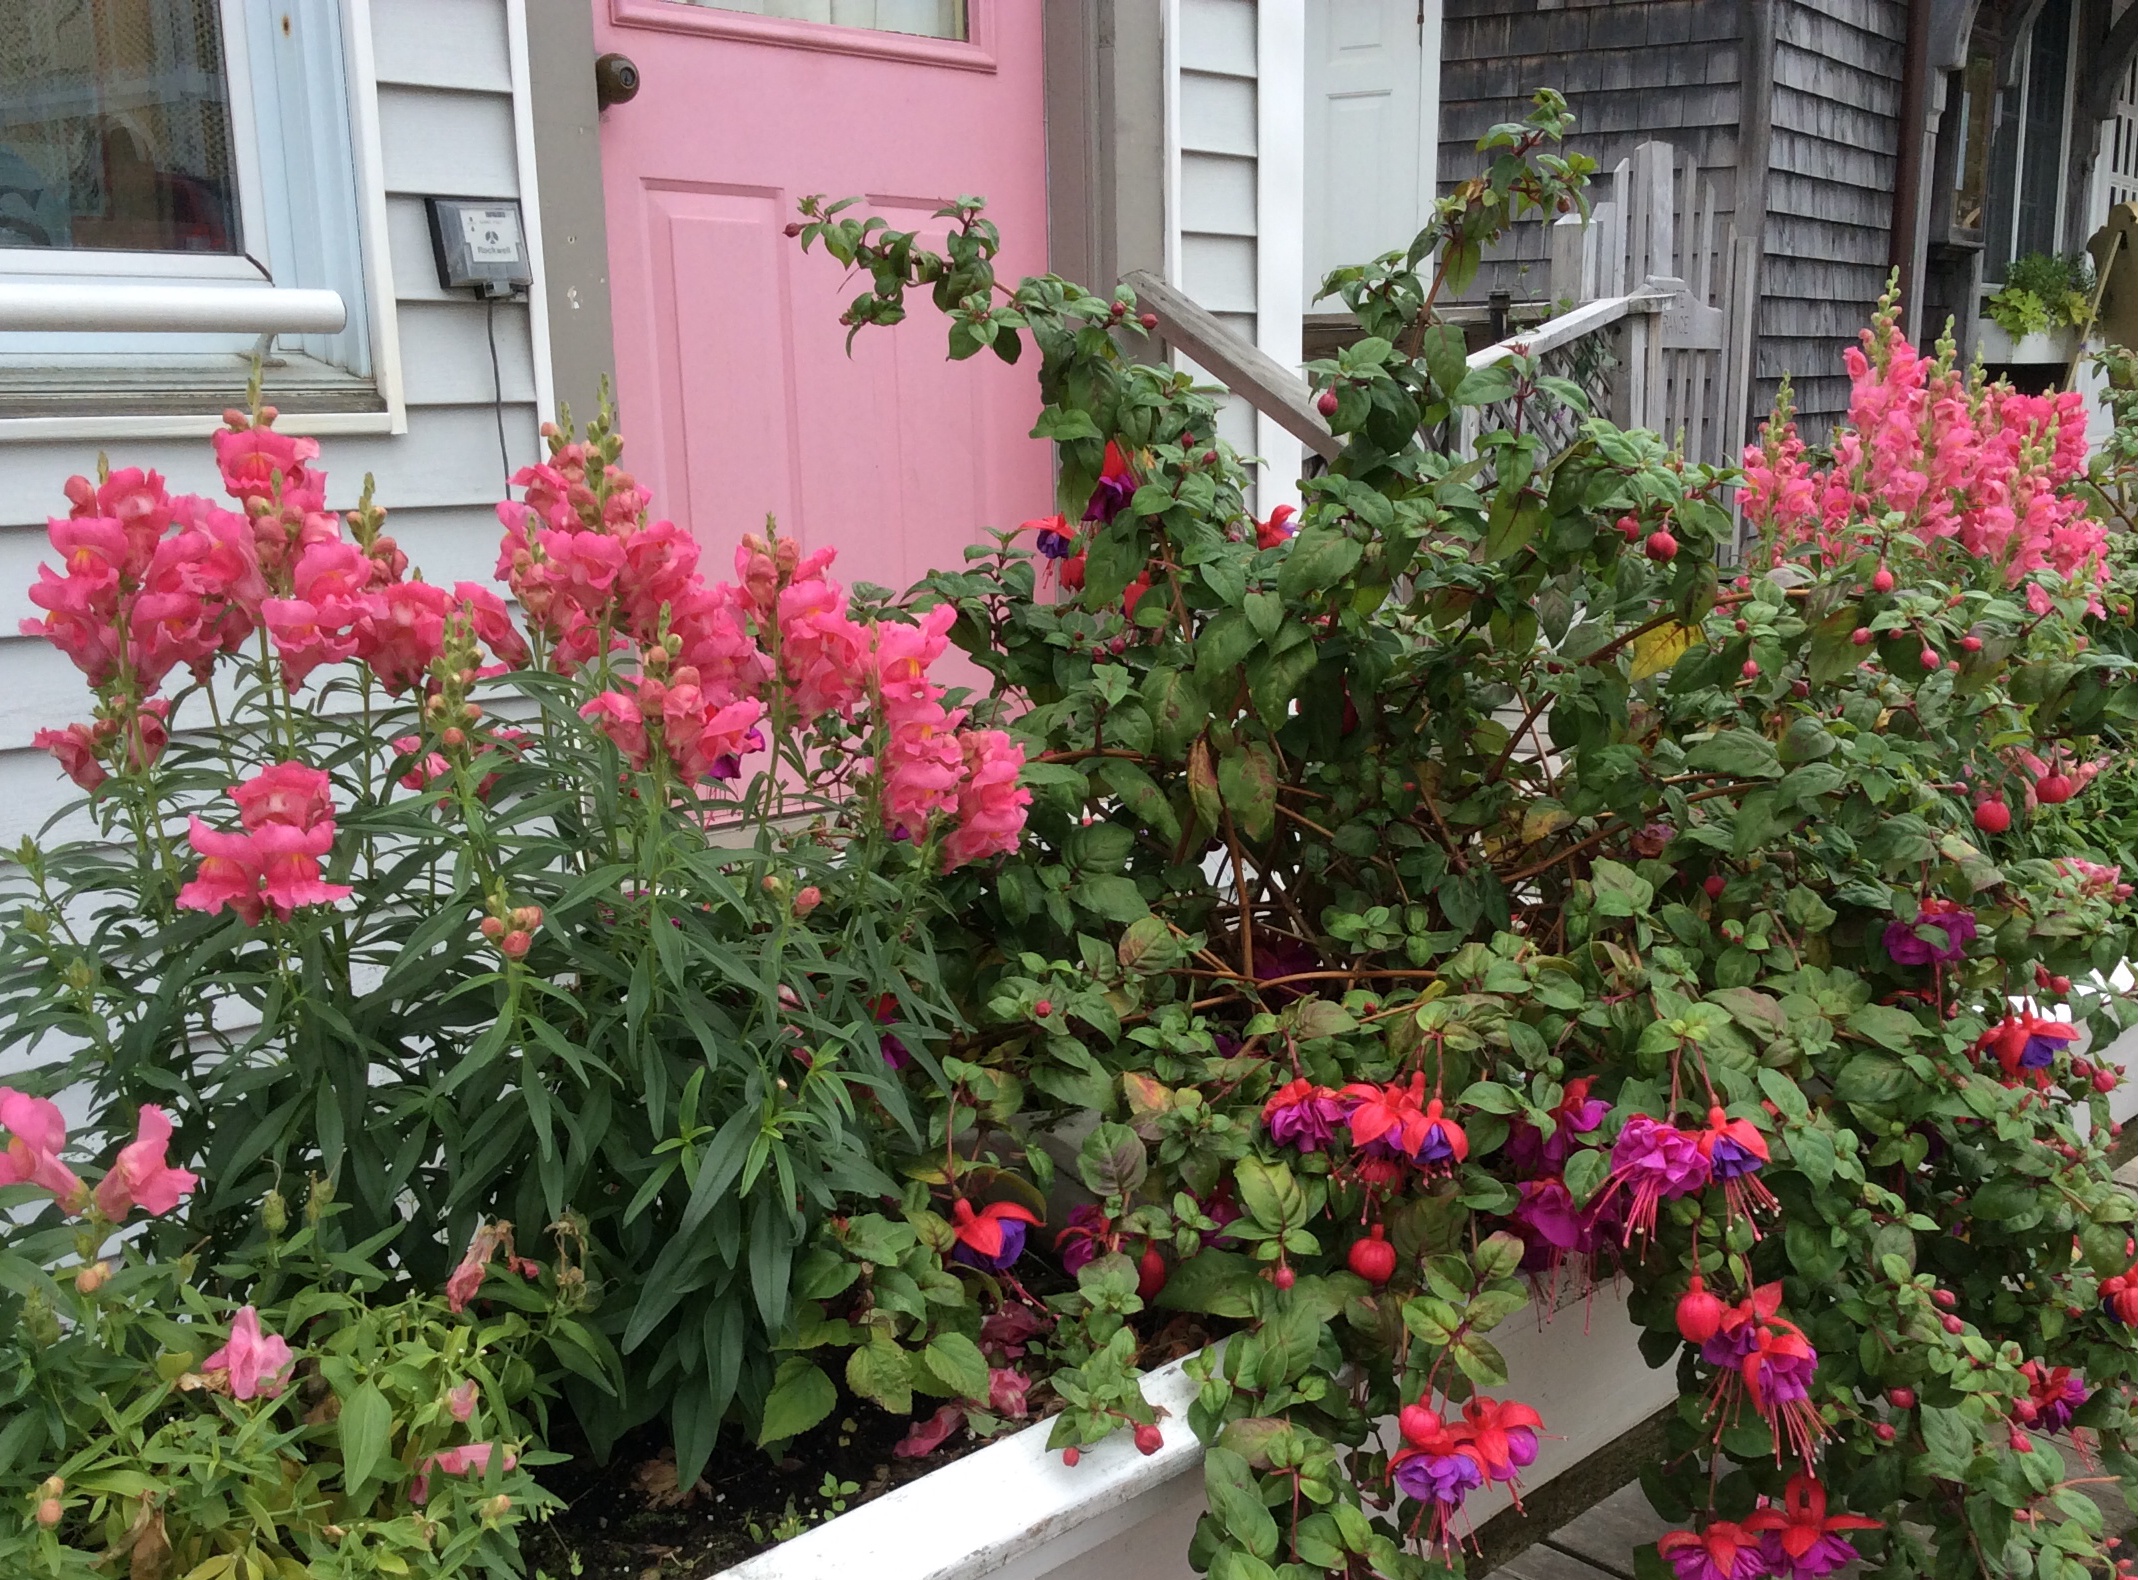
Everywhere you look here, there is an historical imprint — the houses, the harbor, the lobster boats, the small shops, and especially the flowers. The Maine sea air does for flowers what the long days of sunshine and volcanic earth do for Alaskan gardens. Look at the size of this blue Globe Thistle!
And, then there are the Maine bakers, who like wizards, remind us of times when scrumptious homemade pies were the norm in everyone’s household. It was thirty years ago in a restaurant on the Stonington harbor that I discovered Maine Raspberry Pie. I was astounded how delicious it was. Over the years, we have sought out and bought many locally produced raspberry pies — along our travel route, on the island, off the island — wherever there might be one!
One year, en route, a small handwritten sign on the side of the road near Belfast beckoned us to a heavenly pie waiting inside a little general store. We pulled over on the shoulder, did a U-turn, rushed inside, and put our hands on the last raspberry pie — just ahead of customers who saw the same sign and walked in a minute later. That pie was among the top three we have ever eaten. Sadly, the proprietor of that store sold the property in the following year. Her mother’s pie has become a myth in the storytelling yarns of our family.
Though I do not consider the making of pies a forte of mine, all the right conditions this year have lead me down the adventurous path of trying to make a tasty raspberry pie. First, the color popped up…
Again and again…
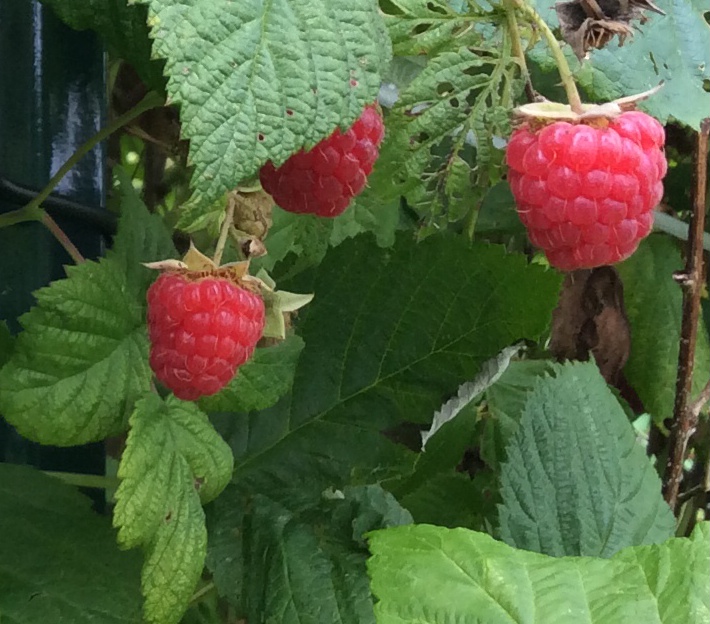
Then, the baker who was our most convenient source decided to close her business. A synchronization of time gave the catalyst gift. Two years ago my in-laws had the great sense to plant some raspberry bushes off the deck. I just love raspberries in my cereal, so the morning after our arrival, I had checked out their status. To my delight, the raspberry crop was peaking! How could I not give this a try?
These days, when I have a wonderful ingredient and something specific in mind, the internet is my first source of glorious possibilities. The recipe below draws from two recipes I found online, plus the wisdom and generously shared secrets of some Twitter and Facebook friends, to whom I send my heartfelt thanks. (The first pie was way too juicy!) Their excellent comments and suggestions heightened my quest and helped me adapt the core recipes. So, we all invite you to try this Fresh Raspberry Pie.
FRESH RASPBERRY PIE
Crust:
2 cups all purpose flour
1 T. sugar
1/2 tsp. salt
12 T. butter
1 egg, lightly beaten
3 T. cold water
1 T. white vinegar
Filling:
1 scant cup sugar
5 T. quick-cooking tapioca
2 T. cornstarch
2 tsp. lemon juice
1/8 tsp. cinnamon
5 cups of fresh raspberries
1 T. butter
Topping:
1 T. milk (use at least 2 percent)
1 T. sugar (I did not use)
Directions:
1. In a large bowl, combine the flour, sugar, and salt with a whisk. Cut in the butter until the size of small peas. (I cut the butter into chunks with a knife and then use a chopper/food processor.) Combine the lightly beaten egg, cold water, and vinegar; add this to the flour mixture and stir or pulse until just blended. Remove to a sheet of wax paper on the counter and pat/press the dough into a ball, but avoid kneading it, or the crust will be tough. Use a knife to divide the dough in two, with one part slightly larger. Wrap in plastic wrap and place in the refrigerator for at least 30 minutes.
2. Meanwhile, in a small bowl, use a whisk to blend the sugar (slightly less than a cup), 3 T. tapioca, cornstarch, and cinnamon. Place the raspberries in a large bowl. Sprinkle the lemon juice and then the sugar mixture evenly over the raspberries. Use a soft spatula to gently lift under the raspberries to distribute the sugar mix a bit. Let sit in the bowl for 15 minutes.
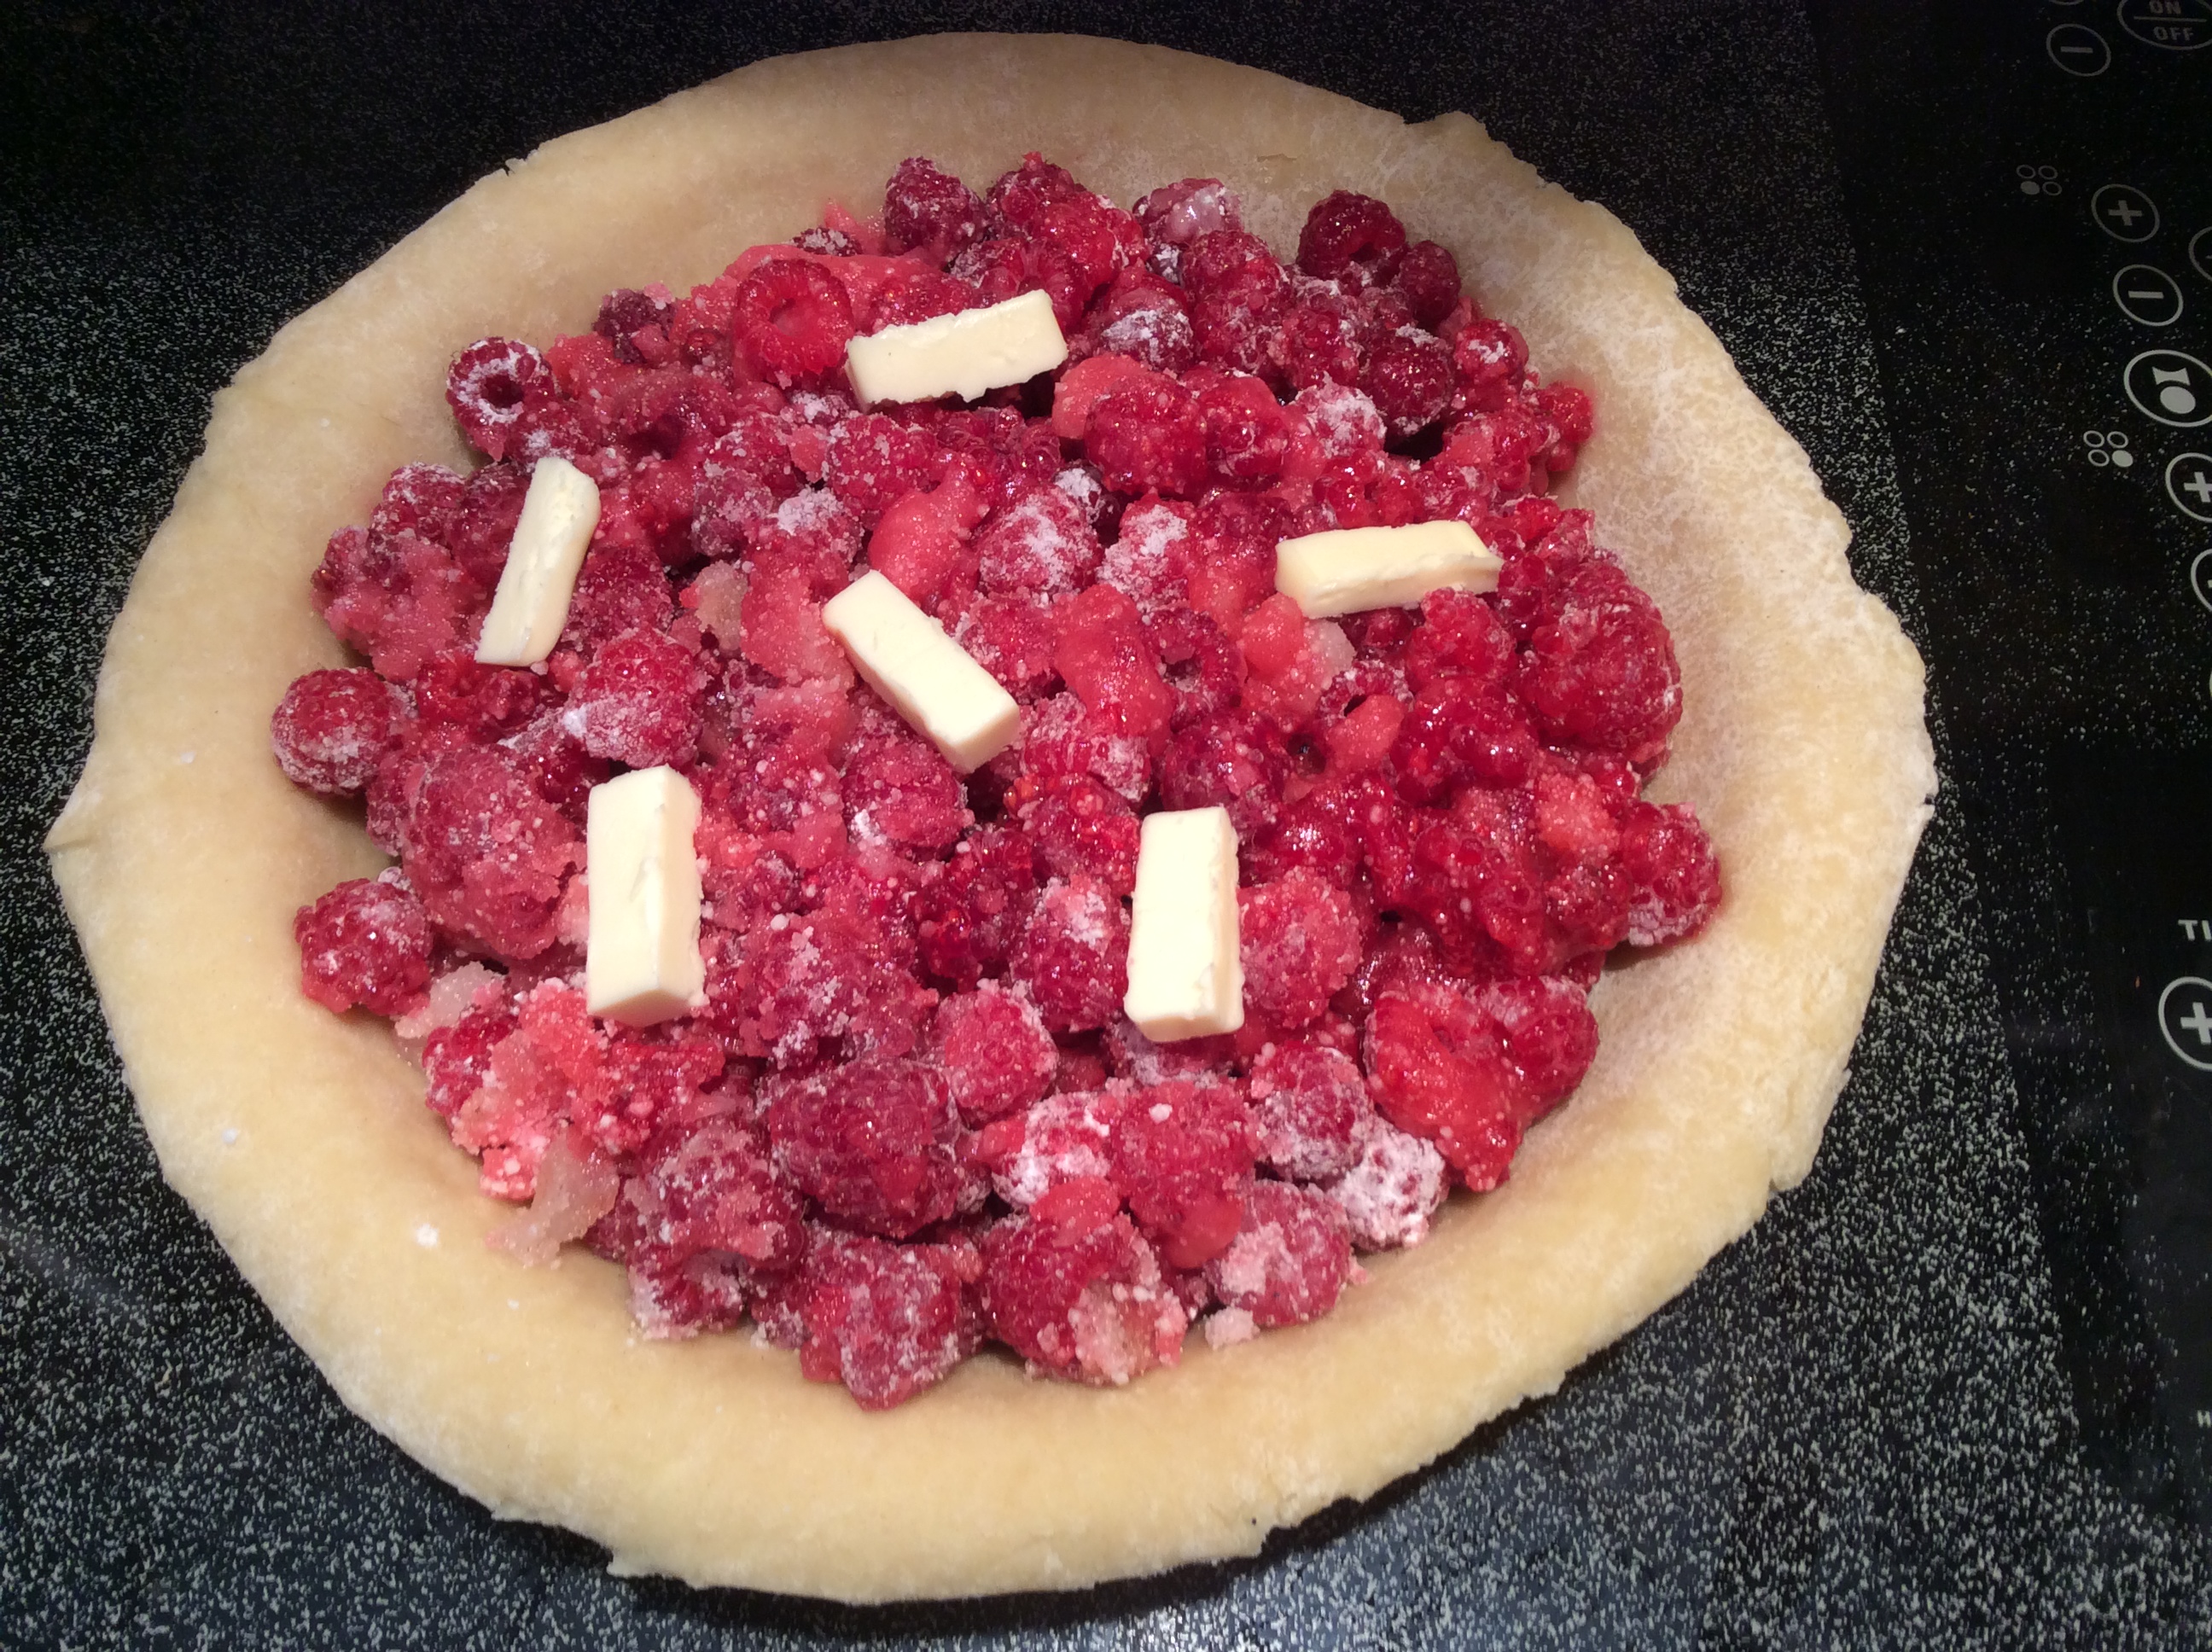
3. On a lightly floured surface and with a flour dusted rolling pin, roll out the larger ball of dough to fit (about an inch larger than) the 9-inch pie plate’s bottom/sides, lightly adding flour and flipping the dough to avoid sticking as you work. Wrap the dough around your rolling pin and transfer the dough to the pie plate, set it in evenly, and carefully trim to the edge. Use a fork to make 5 evenly spaced pricks on the bottom. Sprinkle the bottom with the remaining 2 T. of tapioca. Then, gently spoon the raspberry filling into the crust on top of the tapioca. Cut up the remaining 1 T. of butter into 6 or so chunks and distribute the pieces evenly across the top of the filling (see photo below).
4. Preheat your oven to 425 degrees. Roll out the remaining dough ball to slightly larger than the top dimensions of the pie plate. Wrap the dough around your rolling pin and lay the dough over the pie filling. Trim 1/4 inch beyond the edge. Then, using your thumbs and fingers of both hands, thumb tips almost touching, first roll the edge of the top crust under the edge of the bottom crust, then press the two crusts together to seal, working your way around the edge of the pie crust, crimping the edge as you go.
5. Cut about six slits in the top crust with a sharp knife. Brush the crust with the milk (you may not need all the milk) and sprinkle with the sugar, if you wish. Be sure you put your pie on a low edge pan in the oven that can catch any juice overflow, just in case. I also put aluminum foil strips folded to fit over just the crust edge, to protect it from browning too much. You can buy pie crust guards in any good kitchen shop, if you prefer.
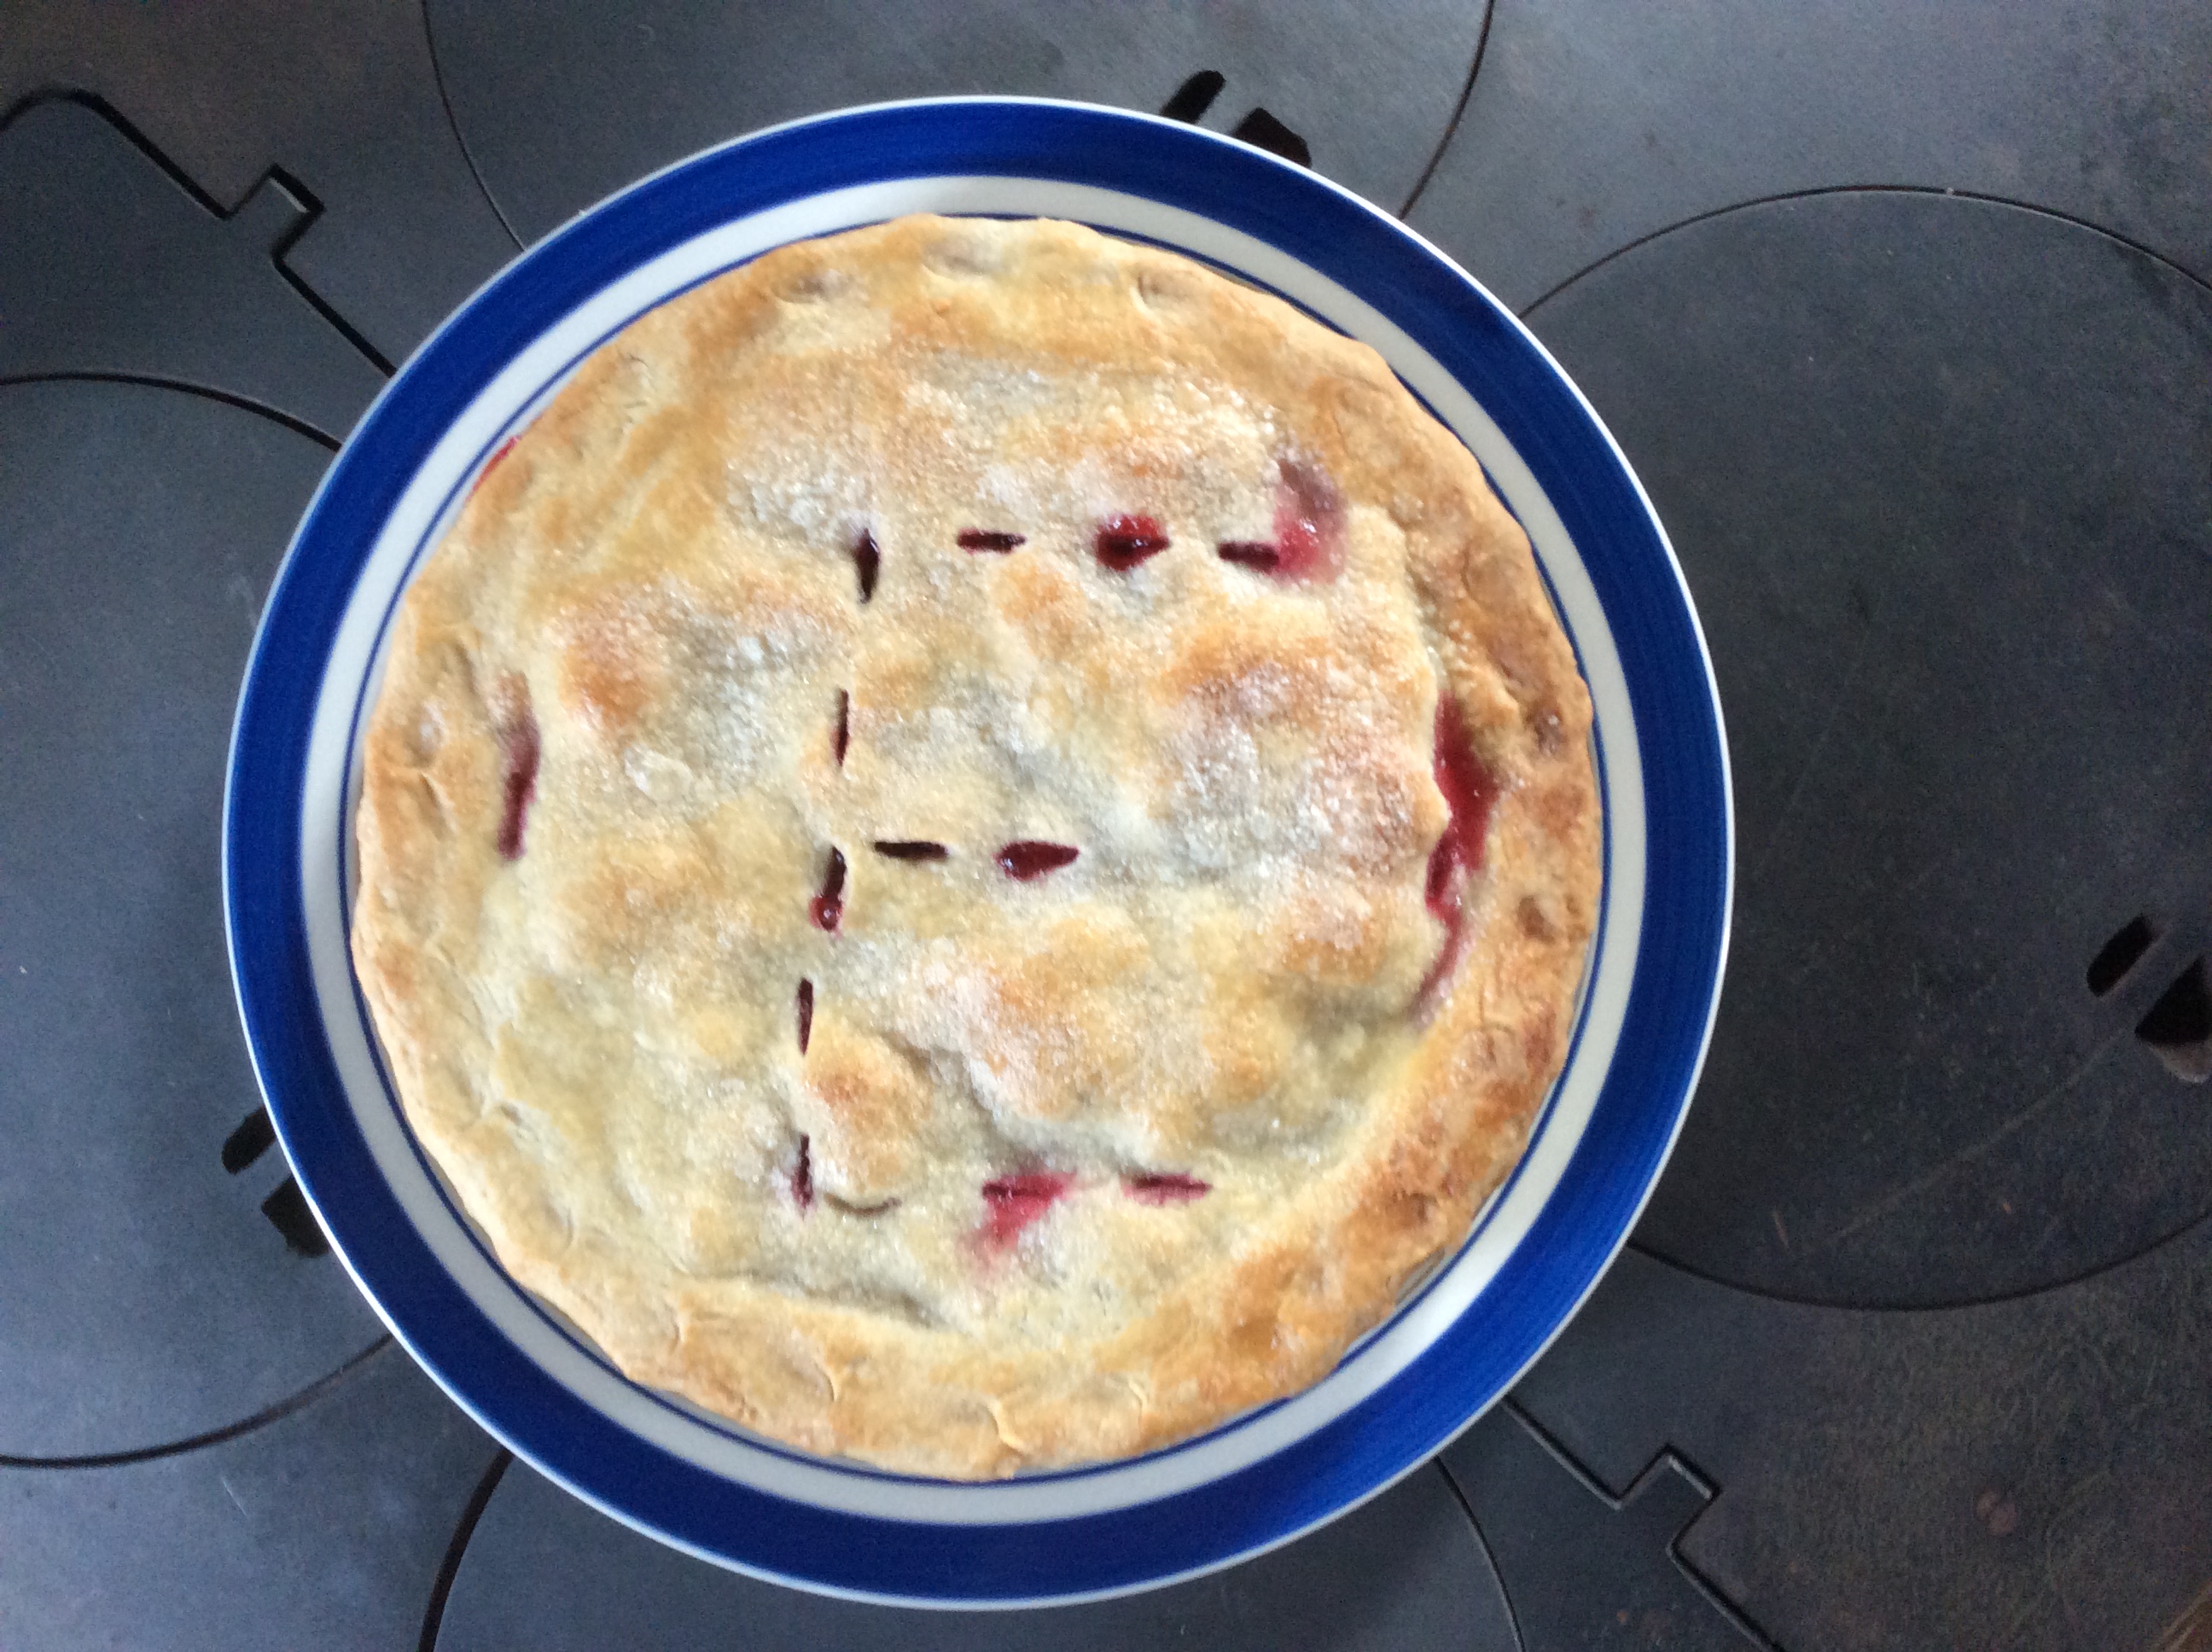
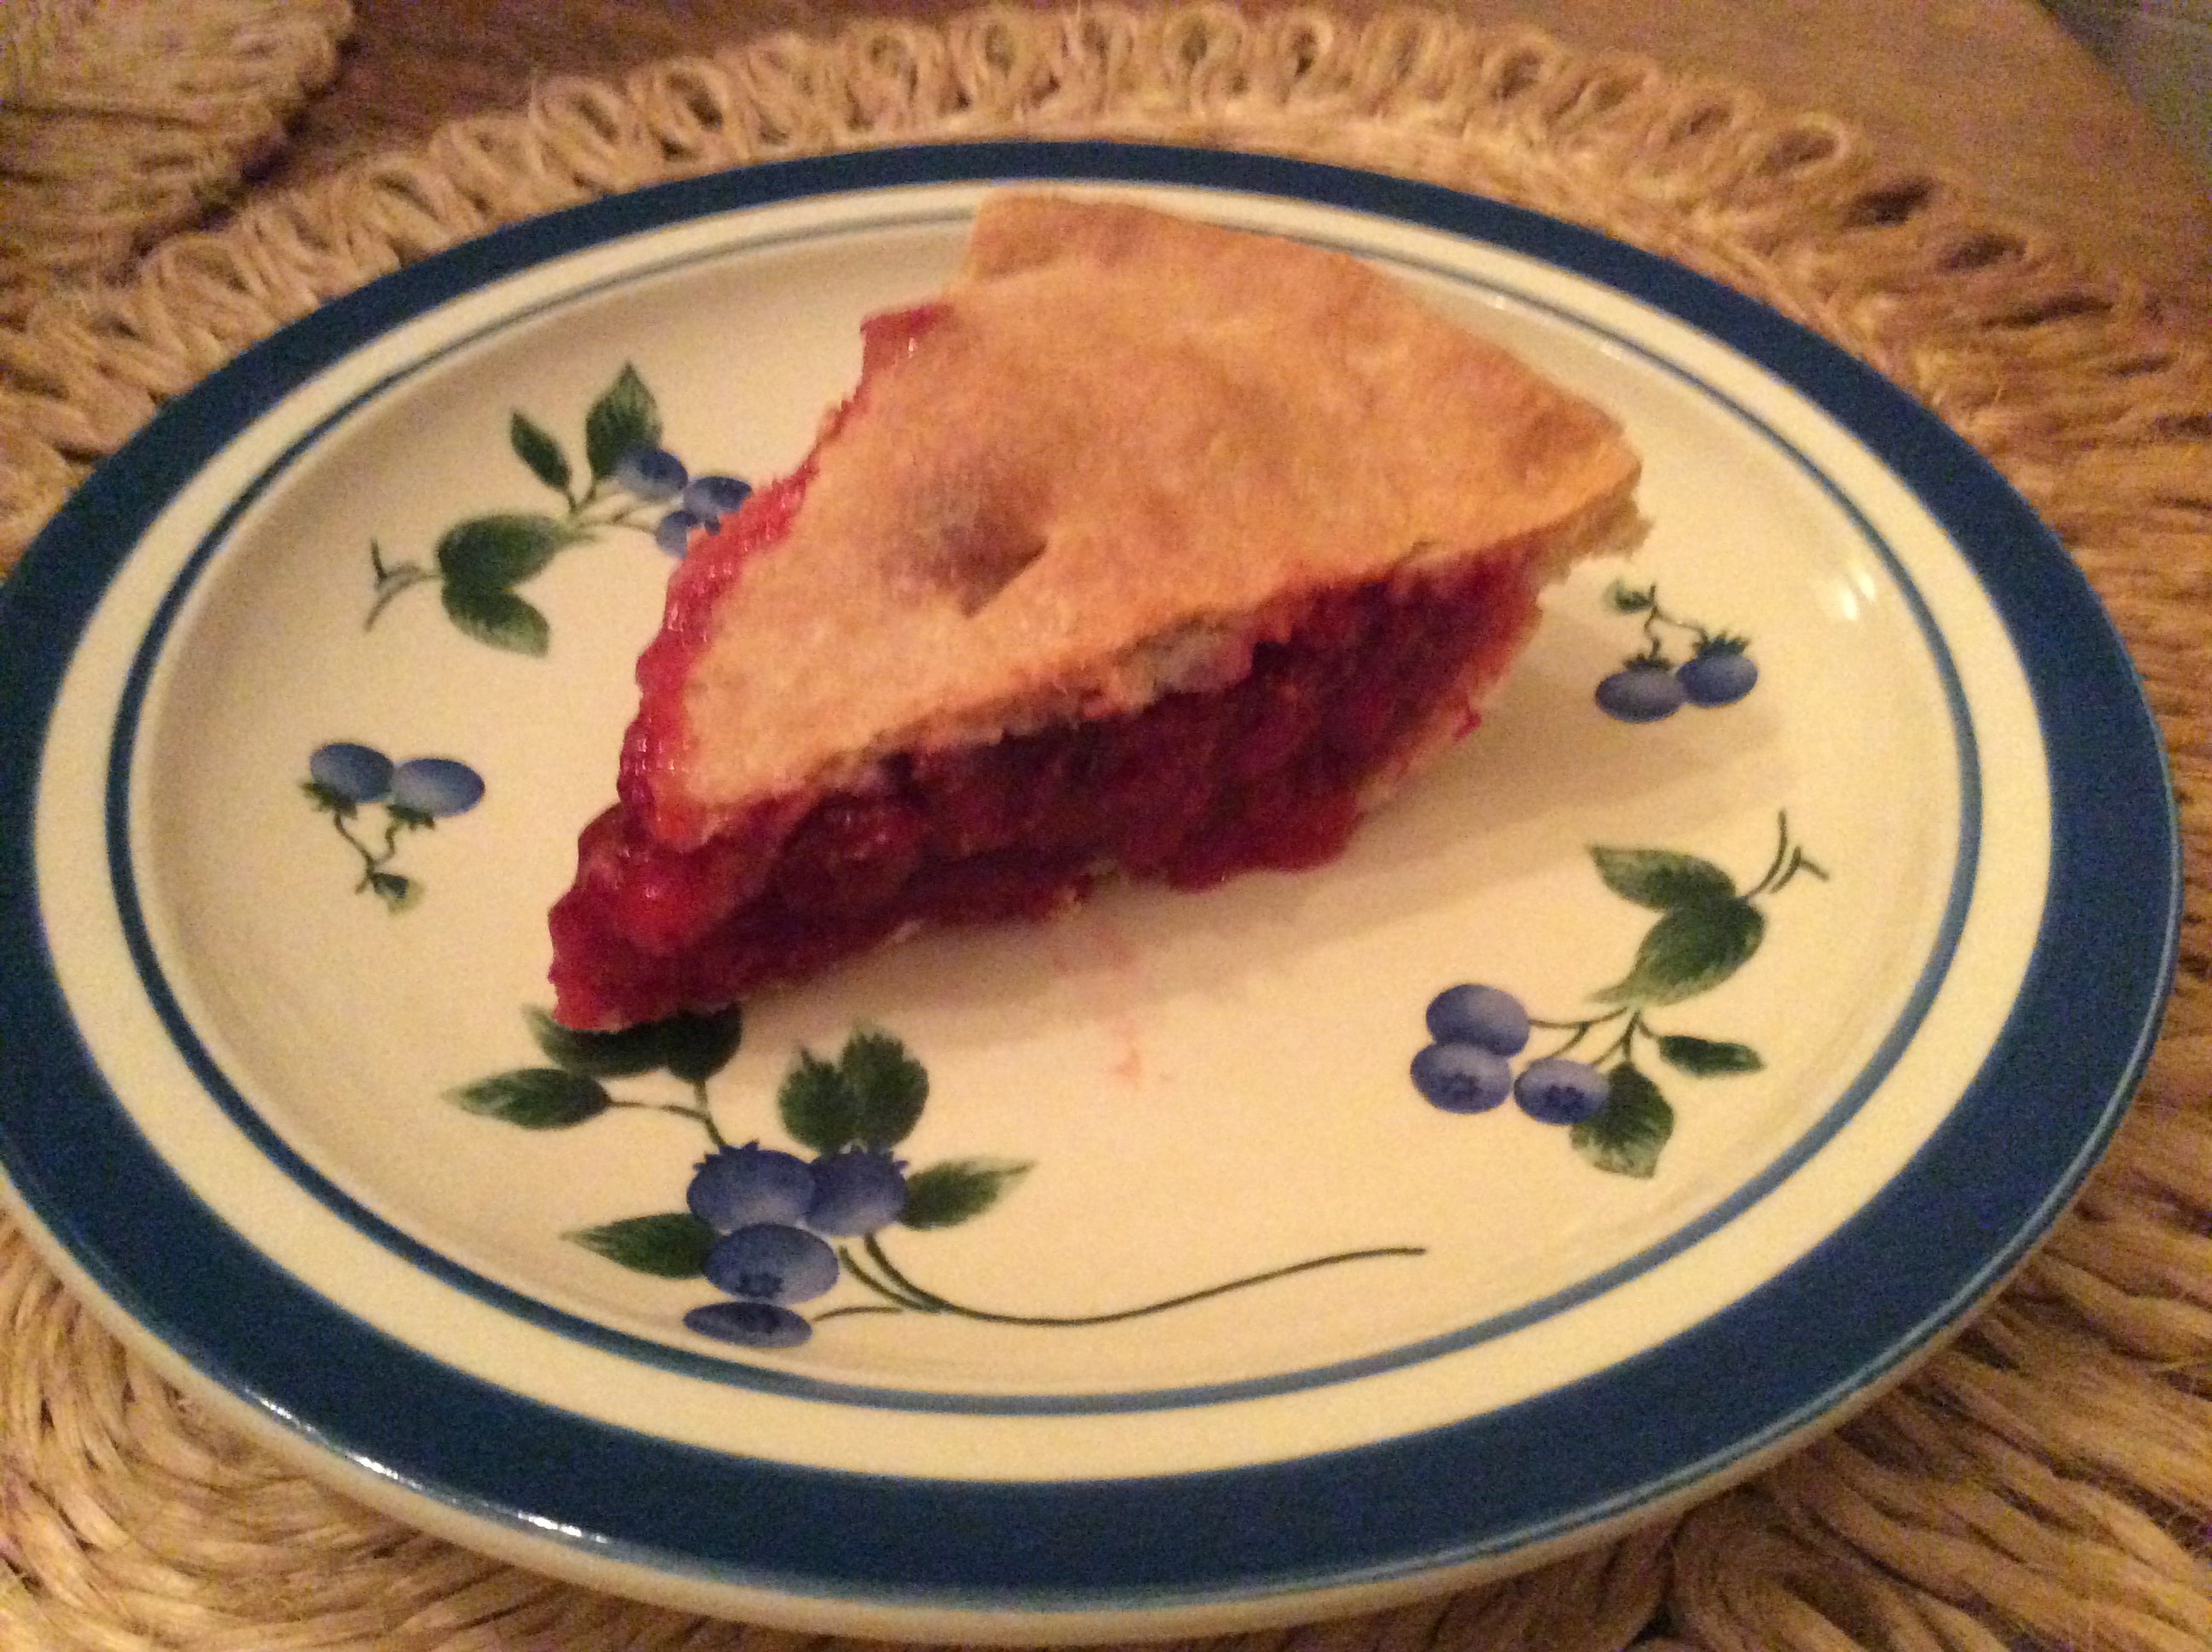
6. Bake for 15 minutes, then turn the oven down to 375 degrees and continue to bake for an additional 25 minutes or so, removing the foil strips or crust guard during the last 5-10 minutes. Remove the pie from the oven when the crust is golden and juice is bubbling a little out of the slits. Cool on a wire rack. Serve plain, or with a scoop of ice cream.
I fear I have a summer addiction to Fresh Raspberry Pie! Won’t you join me in the merriment and give this recipe a try? Otherwise, keep an eye out for this fine traditional berry pie when in Maine. Enjoy a slice — or two !


Beautifully written introduction to recipe. Photos are awesome. I can see myself going off that bridge and “landing” on that Maine island. The recipe is very well clarified for those that are new to baking, yet gives those of us who are ‘seasoned’ a little leeway. Very good article. ^~^
Hi Ellie,
Thanks so much for your thoughtful feedback. I am glad you could feel the air under your wings! One part of me so wishes I had ventured into this raspberry pie-making quest eons ago, but then I reflect that all things have a time. I would not trade the fun baking gab — and the insights of Twitter and Facebook friends that produced this tasty pie!
B.
Pure delight! Makes me want to find some fresh raspberries and bake today! I have always wanted to visit Maine and you take me there with such ease. The flowers are beautiful! Thank you for this unique gift to us, your readers. I can nearly taste that pie!
Thanks so much for your beautiful comments, Judy. Some bakers use frozen raspberries quite successfully. I am going to investigate the specific handling, I.e. Do you thaw them before baking, etc. — will let you know, in case you’d like to attempt, like me, this winter. B.